Home > Pokemon Ruby & Sapphire Walkthrough > Sootopolis Gym
Sootopolis Gym
Route 127
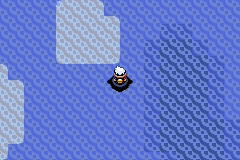
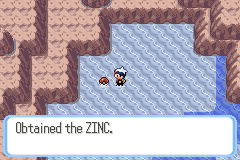
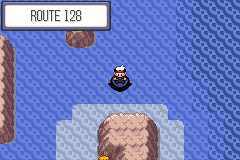
After exiting Mossdeep Gym victorious, head south following the path and surf on the water ahead. Once you reach Route 127, head left until you see a shallow water area surrounded by rocks. There is a Zinc item on the ground. Surf again and follow the route south until you hit Route 128.
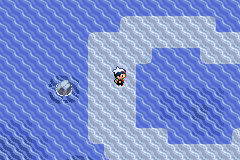
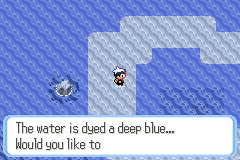
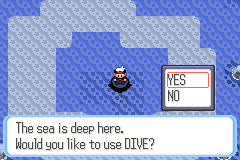
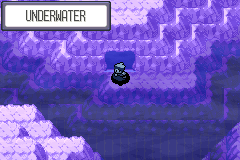
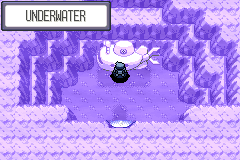
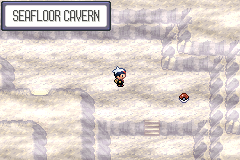
Further south is a donut-shaped circular shallow area. Dive in the deep water immediately south of this circle and you will see a cave. Enter it, then resurface inside. This is the Seafloor Cavern, and it is full of trick entrances and Team Magma/Aqua trainers.
Seafloor Cavern
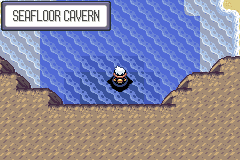
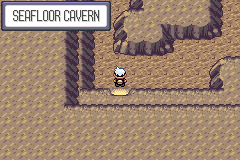
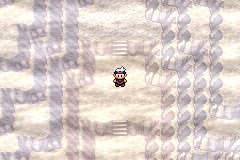
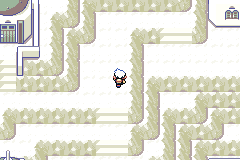
Head to the top left door for the easiest route, although there is a parallel route using the other set of doors. Then, use strength and rock smash to move forward to the top left door again. Before you will be a block puzzle, and your goal is to make it to the door in the top left. Below you can see a route that will guarantee you make it to the door, as well as solutions to all of the other puzzles found in this cave.
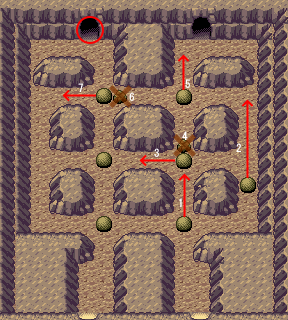
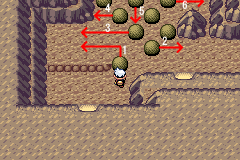
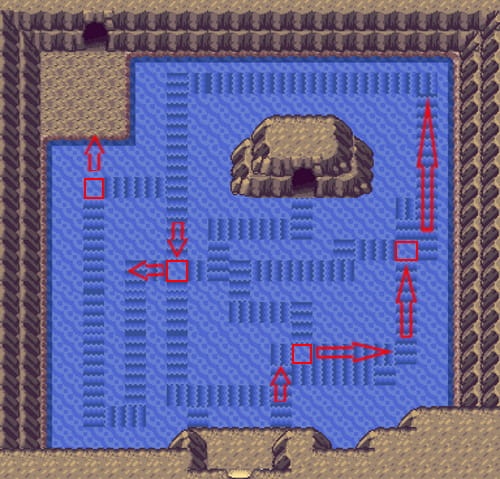
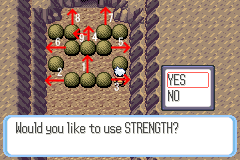
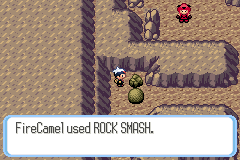
Broken rocks can spawn Geodudes, and the constant cave Pokemon will often necessitate the use of repels if you do not want to train here. After exiting through the top left door, there will be a water current puzzle. This goal is the top left door, and the center door will take you back to the start. The solution can be found above. The next room is a block pushing puzzle, as is the room after, the answers to both of which are shown above.
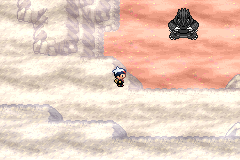
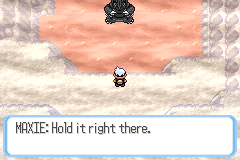
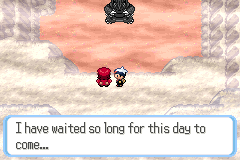
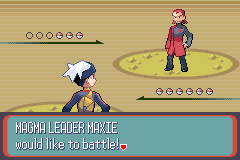
After your descent down to the legendary relative to your game version, you will find the leader of either Team Magma or Team Aqua waiting. Battle them, and then after the cutscene sequence, fly back to Mossdeep City.
Route 126
After returning to Mossdeep City, surf and head left on route 124, but hug the southern wall this time to enter route 126. Then, continue south until hitting the large marble pillar. The rock is pale compared to most of the other route rocks, so it should be obvious when you've hit it. It is roughly in the center of the route. Dive immediately to the south of it, enter the cave, and surface to enter Sootopolis City.
Sootopolis City & Cave of Origin
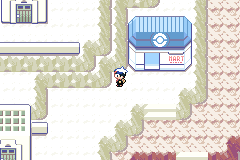
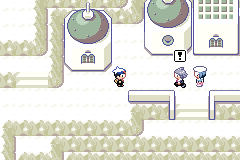
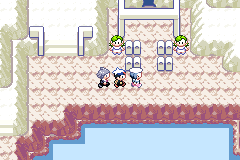
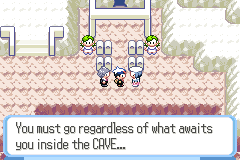
Head northwest through the residential section of the city until you find Steven who will walk you to the Cave of Origin and give you instructions on your next step. Enter the cave when you are ready.
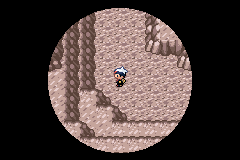
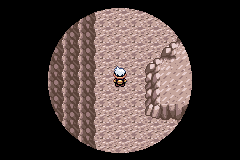
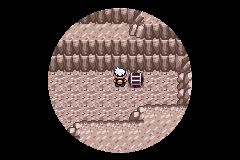
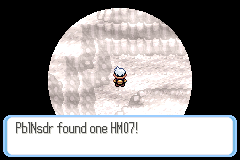
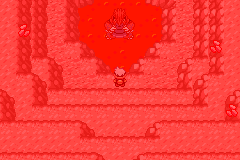
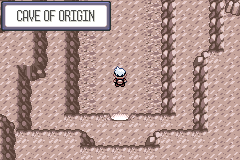
This cave is fairly simple, requiring liberal use of the Flash HM but otherwise throwing nothing particularly unusual at you, at least until the end. Follow the ladders until you reach your regional legendary. Along the way to your prize is the HM - Waterfall, which will prove essential to reaching the final stage of your Pokemon journey.
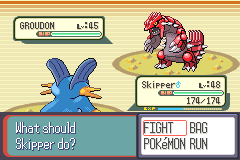
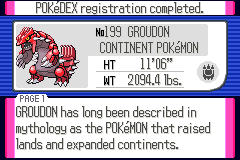
After a cutscene sequence, you can now use your Master Ball to catch Groudon/Kyogre or use ultra balls and normal catching techniques to save your Master Ball for later. Afterwards, use an escape rope to leave. Your legendary will then stop the other legendary from their rampage, and the balance will be returned with you now having a fancy new Pokemon. The gym is now open after this, so enter it to prove yourself worthy of the final badge!
Gym #8 Sootopolis Gym - Leader Wallace
#1 Luvdisc
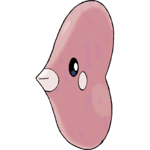
Type: 
Lv: 40
Ability: Swift Swim
Hold Item: N/A
Moves:
Flail 
Attract
Sweet Kiss
Water Pulse
#2 Sealeo
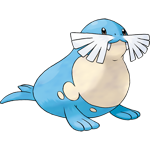
Type: 
Lv: 40
Ability: Thick Fat
Hold Item: N/A
Moves:
Encore
Body Slam
Aurora Beam
Water Pulse
#3 Seaking
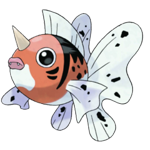
Type:
Lv: 42
Ability: Swift Swim
Hold Item: N/A
Moves:
Horn Drill
Fury Attack
Rain Dance
Water Pulse
#4 Whiscash
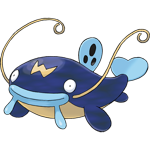
Type: 
Lv: 42
Ability: Oblivious
Hold Item: N/A
Moves:
Amnesia 
Rain Dance
Earthquake
Water Pulse
#5 Milotic

Type:
Lv: 43
Ability: Marvel Scale
Hold Item: N/A
Moves:
Recover
Twister 
Ice Beam
Water Pulse
Strategy
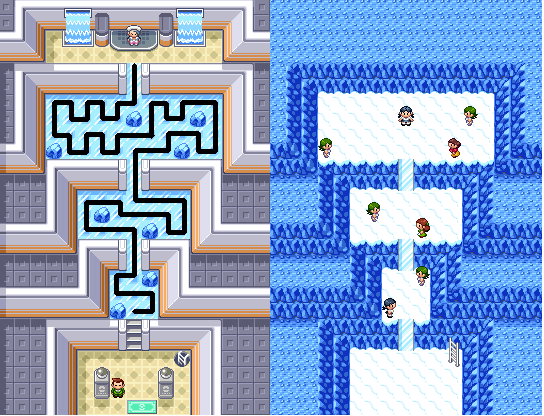
Sootopolis Gym is under the control of Leader Wallace, who specializes in Water type Pokémon. This means a solid Grass type will do really well in his gym. Be careful about relying on only Electric types, as he has a Whiscash whose part Ground typing will give him immunity. To navigate the gym, you'll need to walk along every tile on the icy path without backtracking over the same tile. If you fail this, you'll fall below and need to face a gauntlet of trainers. The above map gives a route that will get you through the path without falling.
The fight with Wallace isn't a particularly tricky one. The level of his Pokémon are on par with the previous gym, but he does have nearly a full team of five Pokémon. The biggest nuisance is that his signature move Water Pulse (which all of his Pokémon know) can confuse you. Moves like Attract, Amnesia, and Recover also might mess with your plans. He also has two Hyper Potions at his disposal. But a strong Grass type and a little bit of patience should get you through this final gym battle.
For winning, you'll get the Rain Badge and TM03 - Water Pulse. The Rain Badge will allow Pokémon of any level to obey you and allows you to use HM07 - Waterfall outside of battle.
Back to Mossdeep Gym Continue to Pokemon League